
Seeing as it’s been a couple of months since our last blog, we thought we’d bring you something new and insightful for this edition of the Floor Coverings Essex blog.
Our fitters have kindly taken a few photos of their jobs over the last couple of months. Therefore, we felt this was an ideal opportunity for us to show you some ‘Before & After’ demonstrations.
In this instance, we have a modern, oak-effect LVT floor, fitted by a fairly new member of the Floor Coverings Essex family, Chris.
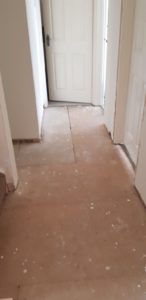
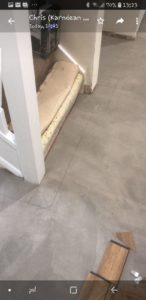
As you can see in the photo above, the job began with a chipboard subfloor. Though the photo doesn’t tell the whole story, the floor was in desperate need of repair and stabilisation. We therefore decided to use 9mm ply wood boards to provide a robust and smooth foundation.
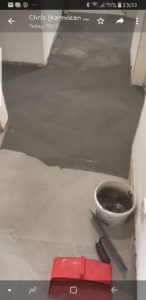
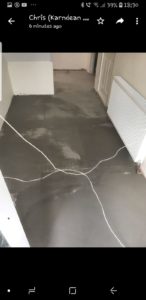
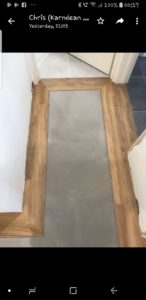
After this, Chris applied a layer of skim coat to the floor, flattening the surface even further, and added a second coat to achieve the ideal subfloor for the installation of vinyl planks. He then carefully pencilled out guidelines for the border dimensions ahead of fitting. (Pictures above)
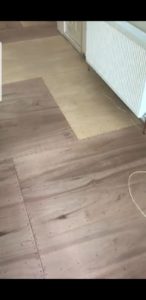
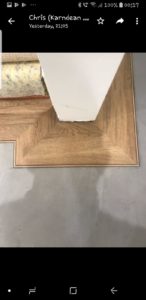
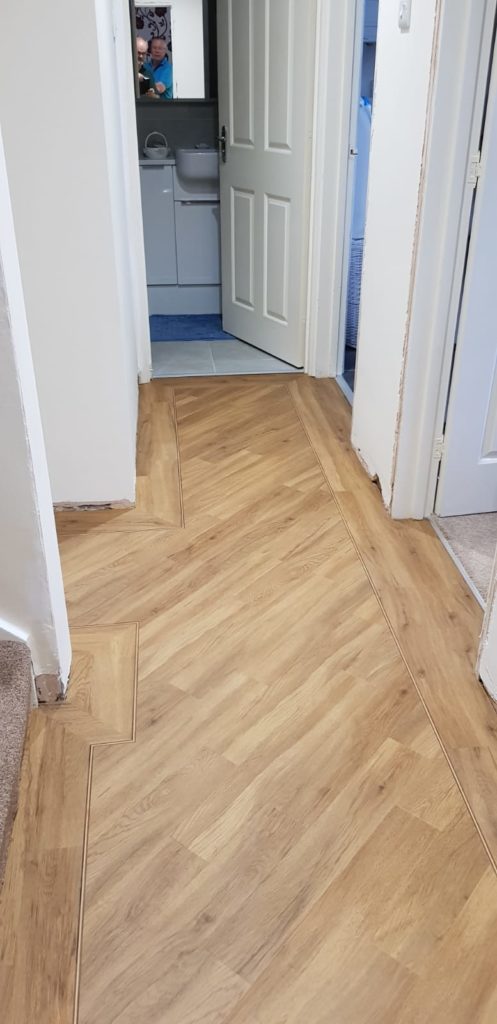
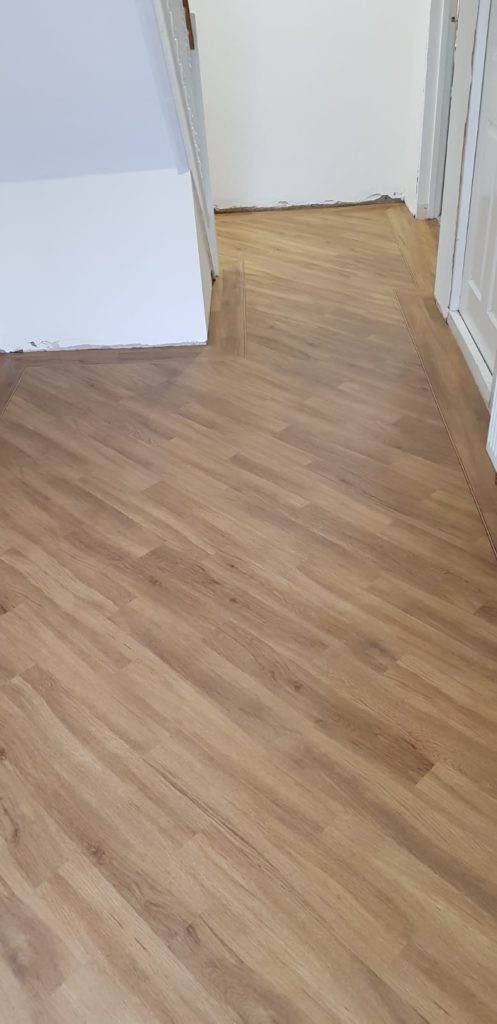
The customers chose to go for a creative, contemporary design. A wide plank border, with a triple feature strip to separate the filler section. As you can see below, this was fitted in a diagonal pattern, which can help create a natural flow from room to room or if an area has a number of alternating angles.
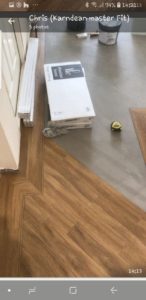
The design bring a fresh, bright new feel to this home and provides a stable, low maintenance flooring option that will last for many years to come…
Great job, Chris!
Here are a few photos of the completed job:

We hope to bring you more blogs like this one in the near future, providing a greater insight on the process of our fittings, for the benefit of our wonderful customers. Keep your eyes peeled for more and feel free to give this a share on your social media platforms!